

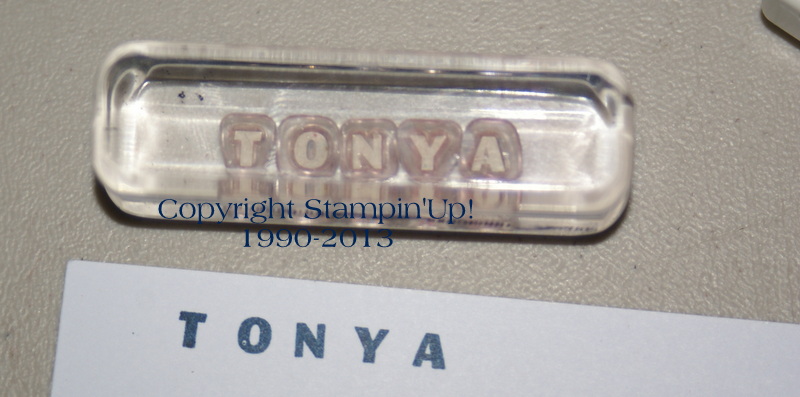
My new Designer Type Photopolymer Stamp Set arrived recently and while I haven't had a chance to make a card with it I did want to ink it up and see what my first impressions were. I decided to take a few pictures to share with you so you can get an idea of how this new stamp set inks, stamps and so on. The top picture is of the stamp set after I took it out of it package. They do not come in the clear cases like our other stamp sets but rather in a plastic sleeve and are between to clear pieces of plastic. The black outline that you see in the picture above is on the plastic not the stamps themself. The next picture is of a stamped image. I placed the letters on the clear block with not spacing betweent them. So the stamped image is what you would get if you just line up the images. If you want the letters closer together you will need to stamp each letter individually.


No comments:
Post a Comment